서버 포맷 및 Ubuntu 재설치 & 필수패키지 설치
Index
- Ubuntu 재설치 및 ssh 설정
- 필수 패키지 설치
- CUDA 설치
- cuDNN 설치
- NCCL 설치
- PyTorch 1.0.1 설치
- 기타 python 패키지 설치
- tmux 설치
- Docker 설치
- NVIDIA-DOCKER2 설치
- 설치 후 세팅
- References
Ubuntu 재설치 및 ssh 설정
Erase disk and install ubuntu 18.04.2와 비슷한 걸로 클릭해서 포맷 및 설치를 진행- 재설치 후 IP와 DNS를 수동설정한 후 네트워크 껐다 켬
- 터미널을 실행한 후
sudo apt install ssh openssh-server를 하여 ssh접속을 위한 패키지 설치 sudo ufw allow 22와sudo ufw allow 2222를 하여 port 22(로컬네트워크)와 2222로 접속 가능하게 함.sudo ufw enable을 하여 앞서 설정한 포트로만 접속할 수 있게 방화벽을 실행한다.sudo vi /etc/ssh/sshd_config를 하고#PORT 22로 주석처리된 부분을PORT 2222로 하여 ssh로 접속 시 port 2222로 접속 가능하게 함.sudo service ssh start를 하여 ssh 서비스를 실행하고sudo reboot을 하여 재부팅함.
필수 패키지 설치
이 부분부터는 원격으로 가능 (터미널에서 ssh로 접속 가능)
1. 업데이트 및 설치된 패키지 업그레이드
sudo apt update && sudo apt upgrade -y
2. vim 등 기본 패키지 설치
sudo apt install -y vim git curl htop tree make cmake automake net-tools python-pip python3-pip
CUDA 설치
1. cuda 설치를 위한 key 설치
sudo apt-key adv --fetch-keys http://developer.download.nvidia.com/compute/cuda/repos/ubuntu1804/x86_64/7fa2af80.pub
2. repo에 추가
sudo bash -c 'echo "deb http://developer.download.nvidia.com/compute/cuda/repos/ubuntu1804/x86_64 /" > /etc/apt/sources.list.d/cuda.list'
3. 다시 apt update 실행
sudo apt update
4. xserver core 파일 설치
sudo apt install -y xserver-xorg-core
5. nvidia driver 418버전 설치 (19.03.05 기준 cuda10.1과 호환)
sudo apt install nvidia-driver-418
6. cuda 10.1 설치 (19.03.05 기준 driver 418버전과 호환)
sudo apt install cuda
또는
sudo apt install cuda-10-1
7. CUDA PATH 환경변수 설정을 위해 ~/.profile파일의 마지막 부분에 아래 라인 추가 (vi ~/.profile)
# set PATH for CUDA installation
if [ -d "/usr/local/cuda/bin/" ]; then
    export PATH=/usr/local/cuda/bin${PATH:+:${PATH}}
    export LD_LIBRARY_PATH=/usr/local/cuda/lib64${LD_LIBRARY_PATH:+:${LD_LIBRARY_PATH}}
fi
8. /etc/environment에 큰 따옴표(")안에 :/usr/local/cuda/bin 추가 (sudo vi /etc/environment)
PATH="/usr/local/sbin:/usr/local/bin:/usr/sbin:/usr/bin:/sbin:/bin:/usr/games:/usr/local/games:/usr/local/cuda/bin"
9. 설치 완료를 위해 reboot
sudo reboot
10. CUDA설치 확인을 위해 nvcc(NVIDIA CUDA Compiler)의 버전 확인 (nvcc --version)
mlvc02@mlvc02:~$ nvcc --version
nvcc: NVIDIA (R) Cuda compiler driver
Copyright (c) 2005-2019 NVIDIA Corporation
Built on Fri_Feb__8_19:08:17_PST_2019
Cuda compilation tools, release 10.1, V10.1.105
11. nvidia 드라이버 설치 확인 (nvidia-smi)
mlvc02@mlvc02:~$ nvidia-smi
Tue Mar  5 19:29:32 2019
+-----------------------------------------------------------------------------+
| NVIDIA-SMI 418.39       Driver Version: 418.39       CUDA Version: 10.1     |
|-------------------------------+----------------------+----------------------+
| GPU  Name        Persistence-M| Bus-Id        Disp.A | Volatile Uncorr. ECC |
| Fan  Temp  Perf  Pwr:Usage/Cap|         Memory-Usage | GPU-Util  Compute M. |
|===============================+======================+======================|
|   0  GeForce GTX 108...  On   | 00000000:19:00.0 Off |                  N/A |
| 33%   28C    P8    15W / 250W |      2MiB / 11178MiB |      0%      Default |
+-------------------------------+----------------------+----------------------+
|   1  GeForce GTX 108...  On   | 00000000:1A:00.0 Off |                  N/A |
| 33%   32C    P8    15W / 250W |      2MiB / 11178MiB |      0%      Default |
+-------------------------------+----------------------+----------------------+
|   2  GeForce GTX 108...  On   | 00000000:67:00.0 Off |                  N/A |
| 33%   29C    P8    15W / 250W |      2MiB / 11178MiB |      0%      Default |
+-------------------------------+----------------------+----------------------+
|   3  GeForce GTX 108...  On   | 00000000:68:00.0 Off |                  N/A |
| 33%   28C    P8    16W / 250W |     18MiB / 11176MiB |      0%      Default |
+-------------------------------+----------------------+----------------------+

+-----------------------------------------------------------------------------+
| Processes:                                                       GPU Memory |
|  GPU       PID   Type   Process name                             Usage      |
|=============================================================================|
|    3      1248      G   /usr/lib/xorg/Xorg                             9MiB |
|    3      1361      G   /usr/bin/gnome-shell                           6MiB |
+-----------------------------------------------------------------------------+
cuDNN 설치
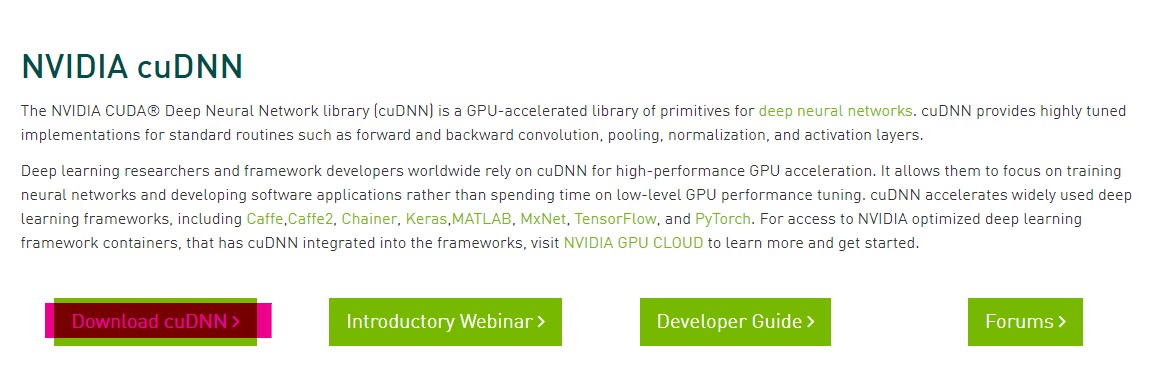
1. cuDNN 설치를 위해 본인 컴퓨터에서 cuDNN 사이트 접속 후 로그인하고 다운로드 버튼 클릭
2. 동의 체크하고 라이브러리 다운
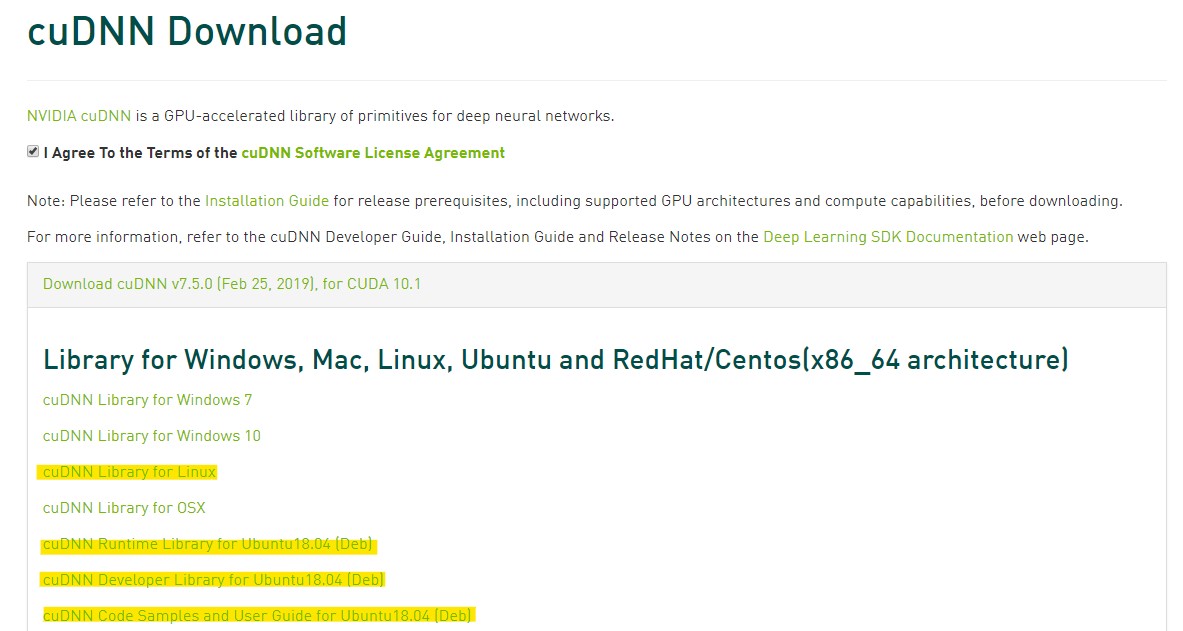
3. 다운로드 받은 디렉토리 위치에서 터미널(혹은 cmd 등)을 열어 scp로 받은 라이브러리들 모두 복사
scp -P 2222 cudnn-10.1-linux-x64-v7.5.0.56.tgz mlvc01@163.180.146.62:/home/mlvc01/
scp -P 2222 libcudnn7_7.5.0.56-1+cuda10.1_amd64.deb mlvc01@163.180.146.62:/home/mlvc01/
scp -P 2222 libcudnn7-dev_7.5.0.56-1+cuda10.1_amd64.deb mlvc01@163.180.146.62:/home/mlvc01/
scp -P 2222 libcudnn7-doc_7.5.0.56-1+cuda10.1_amd64.deb mlvc01@163.180.146.62:/home/mlvc01/
4. 다시 sudoer계정(i.e. mlvc01) 으로 접속 후 cudnn 라이브러리 압축해제
tar -xzvf cudnn-10.1-linux-x64-v7.5.0.56.tgz
5. Copy the following files into the CUDA Toolkit directory, and change the file permissions.
sudo cp cuda/include/cudnn.h /usr/local/cuda/include
sudo cp cuda/lib64/libcudnn* /usr/local/cuda/lib64
sudo chmod a+r /usr/local/cuda/include/cudnn.h /usr/local/cuda/lib64/libcudnn*
6. .deb 패키지 설치 (생략가능)
sudo dpkg -i libcudnn7_7.5.0.56-1+cuda10.1_amd64.deb
sudo dpkg -i libcudnn7-dev_7.5.0.56-1+cuda10.1_amd64.deb
sudo dpkg -i libcudnn7-doc_7.5.0.56-1+cuda10.1_amd64.deb
cuDNN 설치 확인
이 부분은 cuDNN설치 - 6. 의 패키지 설치했을 때 확인가능
- Copy the cuDNN sample to a writable path.
cp -r /usr/src/cudnn_samples_v7/ $HOME - Go to the writable path.
cd $HOME/cudnn_samples_v7/mnistCUDNN - Compile the mnistCUDNN sample.
make clean && make - Run the mnistCUDNN sample.
./mnistCUDNN - If cuDNN is properly installed and running on your Linux system, you will see a message similar to the following:
Test passed!
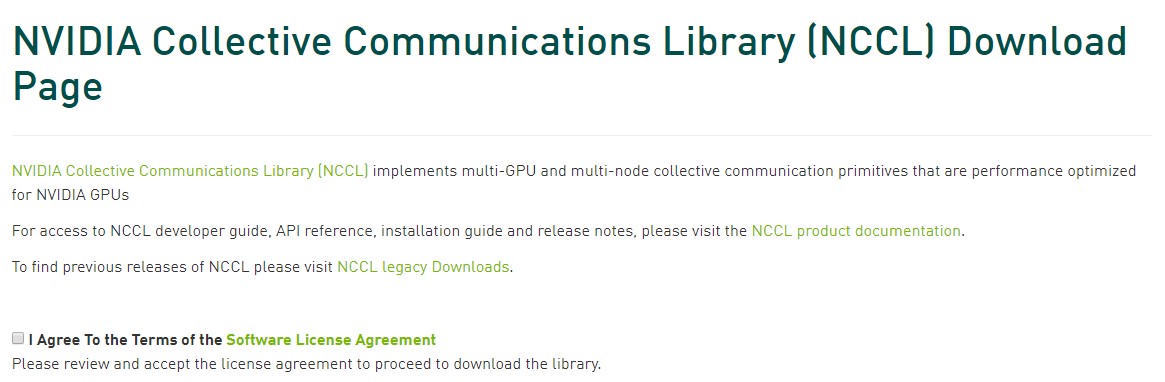
NCCL 설치
1. NCCL 설치를 위해 본인 컴퓨터에서 NCCL 사이트 접속 후 로그인하고 다운로드 버튼 클릭
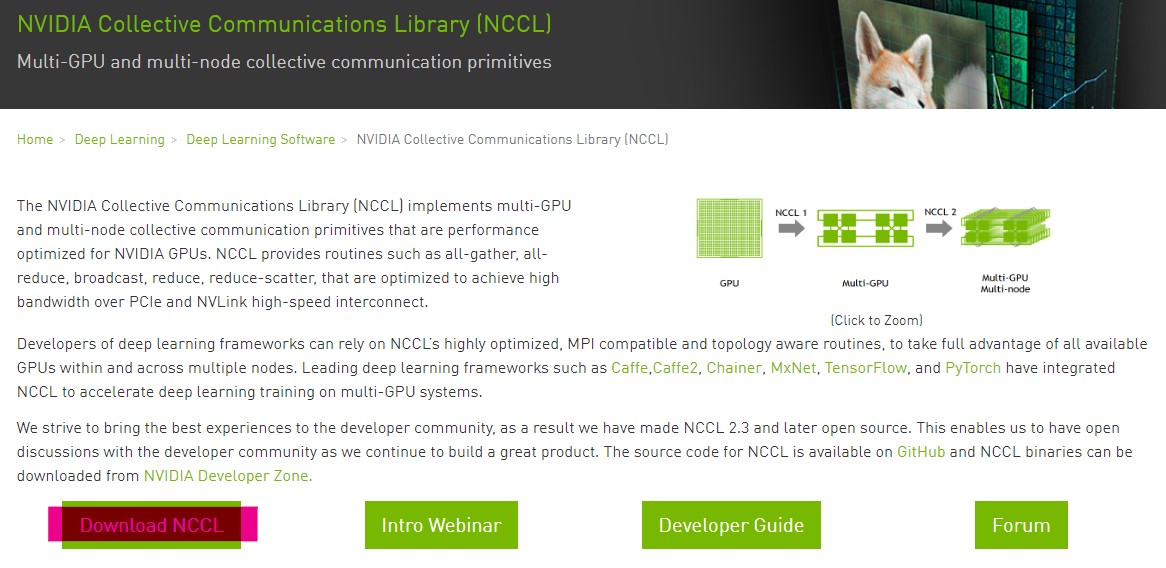
2. 동의 체크하고 라이브러리 다운 (cuda버전에 맞게 잘 다운 받고 아래 명령어 기억)
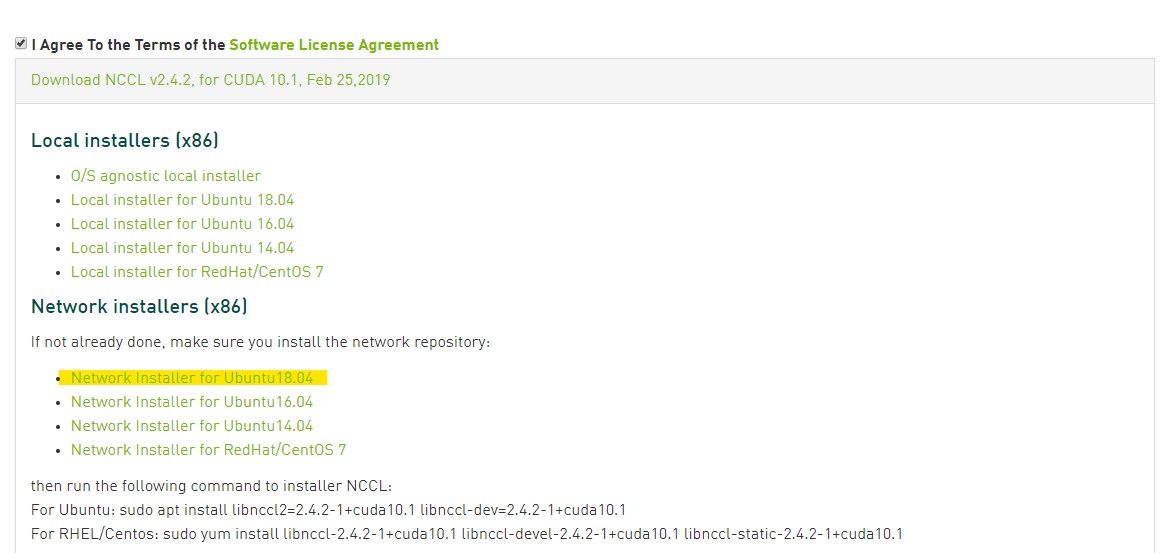
3. 다운로드 받은 디렉토리 위치에서 터미널(혹은 cmd 등)을 열어 scp로 받은 라이브러리 복사
scp -P 2222 nvidia-machine-learning-repo-ubuntu1804_1.0.0-1_amd64.deb mlvc01@163.180.146.62:/home/mlvc01/
4. 다시 sudoer계정(i.e. mlvc01) 으로 접속 후 NCCL 패키지 설치 (아래의 마지막줄은 NCCL 받을때 기억해둔 명령어임.)
sudo dpkg -i nvidia-machine-learning-repo-ubuntu1804_1.0.0-1_amd64.deb
sudo apt update
sudo apt install libnccl2=2.4.2-1+cuda10.1 libnccl-dev=2.4.2-1+cuda10.1
PyTorch 1.0.1 설치
모든 단계는 python2와 python3에서 모두 실행함.
1. PyPI(Python Package Index) 업데이트 (python2와 python3버전 모두 업데이트)
sudo -H pip install -U pip
sudo -H pip3 install -U pip
위 단계를 진행하면 pip가 pip3에 링크되어 같은 명령어로 쓸 수 있어 이제 python2버전은 pip2로 실행해야 함.
따라서 앞으로 업데이트할 때도 pip2 먼저 실행해야 그대로 pip가 pip3에 링크됨.
2. PyTorch 설치
sudo -H pip install https://download.pytorch.org/whl/cu100/torch-1.0.1.post2-cp36-cp36m-linux_x86_64.whl
sudo -H pip2 install https://download.pytorch.org/whl/cu100/torch-1.0.1.post2-cp27-cp27mu-linux_x86_64.whl
3. TorchVision 설치
sudo -H pip install torchvision
sudo -H pip2 install torchvision
기타 python 패키지 설치
1. tk-inter 설치
sudo apt install python-tk python3-tk
2. 기타 머신러닝, 딥러닝 등 많이 쓰이는 패키지 설치
sudo -H pip install dlib tqdm opencv-python numpy cvxpy scipy scikit-learn scikit-image matplotlib virtualenv
sudo -H pip2 install dlib tqdm opencv-python numpy cvxpy scipy scikit-learn scikit-image matplotlib virtualenv
tmux 설치
1. tmux는 libevent에 의존성이 있으므로 libevent 먼저 설치 (19.03.06 기준 최신버전 2.1.8 - 최신버전은 다음 링크 참고)
wget https://github.com/libevent/libevent/releases/download/release-2.1.8-stable/libevent-2.1.8-stable.tar.gz
tar -xvzf libevent-2.1.8-stable.tar.gz
cd libevent-2.1.8-stable
./configure --prefix=$HOME/tmux/
make
make install
cd
rm -rf libevent-2.1.8-stable*
2. ncurses에도 의존성이 있으므로 ncurses도 설치. (19.03.06 기준 최신버전 6.1 - 최신버전은 다음 링크 참고)
wget http://ftp.gnu.org/pub/gnu/ncurses/ncurses-6.1.tar.gz
tar -xvzf ncurses-6.1.tar.gz
cd ncurses-6.1
./configure --prefix=$HOME/tmux/
make
make install
cd
rm -rf ncurses-6.1*
3. ncurses 파일들을 tmux/include 폴더 안에 넣어야 tmux 빌드 시에 오류 발생 안하므로 include폴더로 복사
cp $HOME/tmux/include/ncurses/* $HOME/tmux/include/
4. tmux 빌드
git clone https://github.com/tmux/tmux.git $HOME/tmuxgit
cd tmuxgit
sh autogen.sh
./configure \
    CFLAGS="-I$HOME/tmux/include" \
    LDFLAGS="-L$HOME/tmux/lib" \
    --prefix=$HOME/tmux/
make
make install
cd
rm -rf tmuxgit
5. tmux PATH 환경변수 설정을 위해 ~/.profile파일의 마지막 부분에 아래 라인 추가 (vi ~/.profile)
# set PATH for tmux installation
if [ -d "$HOME/tmux/bin/" ]; then
    export PATH=$HOME/tmux/bin${PATH:+:${PATH}}
    export LD_LIBRARY_PATH=$HOME/tmux/lib${LD_LIBRARY_PATH:+:${LD_LIBRARY_PATH}}
fi
6. /etc/environment에 따옴표(')안에 :/home/mlvc01/tmux/bin 추가 (sudo vi /etc/environment)
계정에 맞게 mlvc03이면 :/home/mlvc03/tmux/bin 추가
PATH="/usr/local/sbin:/usr/local/bin:/usr/sbin:/usr/bin:/sbin:/bin:/usr/games:/usr/local/games:/usr/local/cuda/bin:/home/mlvc01/tmux/bin"
Docker 설치
Docker 설치 방법 참고
아래 설치방법은 19.03.06 기준. 나중에 바뀔 수 있으니 위 링크 참조
SET UP THE REPOSITORY
1. Update the apt package index:
sudo apt update
2. Install packages to allow apt to use a repository over HTTPS:
sudo apt-get install apt-transport-https ca-certificates gnupg-agent software-properties-common
3. Add Docker’s official GPG key:
curl -fsSL https://download.docker.com/linux/ubuntu/gpg | sudo apt-key add -
4. Use the following command to set up the stable repository.
sudo add-apt-repository "deb [arch=amd64] https://download.docker.com/linux/ubuntu $(lsb_release -cs) stable"
INSTALL DOCKER CE
1. Update the apt package index:
sudo apt update
2. Install the latest version of Docker CE and containerd
sudo apt install docker-ce docker-ce-cli containerd.io
NVIDIA-DOCKER2 설치
NVIDIA-Docker 설치 방법 참고
아래 설치방법은 19.03.06 기준. 나중에 바뀔 수 있으니 위 링크 참조
Add the package repositories
1. Add NVIDIA-Docker’s official GPG key:
curl -s -L https://nvidia.github.io/nvidia-docker/gpgkey | sudo apt-key add -
2. Set Distribution
distribution=$(. /etc/os-release;echo $ID$VERSION_ID)
3. Use the following command to set up the repository.
curl -s -L https://nvidia.github.io/nvidia-docker/$distribution/nvidia-docker.list | sudo tee /etc/apt/sources.list.d/nvidia-docker.list
Install nvidia-docker2 and reload the Docker daemon configuration
1. Update the apt package index:
sudo apt update
2. Install the latest version of nvidia-docker2
sudo apt install -y nvidia-docker2
3. Reload the Docker daemon configuration
sudo pkill -SIGHUP dockerd
Test nvidia-smi with the latest official CUDA image
sudo docker run --runtime=nvidia --rm nvidia/cuda:9.0-base nvidia-smi
설치 후 세팅
Xorg 끄기
여기서는 멀티유저세팅을 기본값으로 설정하여 재부팅 시 Xorg를 사용하지 않게 한다.
sudo systemctl set-default multi-user.target
vim 세팅
1. vim colorscheme 다운로드
mkdir -p ~/.vim/colors
cd ~/.vim/colors
curl -O https://raw.githubusercontent.com/nanotech/jellybeans.vim/master/colors/jellybeans.vim
curl -O https://raw.githubusercontent.com/tomasr/molokai/master/colors/molokai.vim
2. vimrc 세팅 vi ~/.vimrc로 열어서 i눌러서 입력모드로 바꾼 후 복붙
복붙하면 set backspace부터 주석 생기는데 아래 보면서 주석 다 지워야 함.
set hlsearch
set nu
set autoindent      " copy indent from current line when starting a new line
set scrolloff=2
set wildmode=longest,list
set ts=4    "tag select
set sts=4   "st select
set sw=1
set autowrite
set autoread
set cindent         " C auto indent
set history=256
set laststatus=2
set shiftwidth=4    " number of spaces to use for auto indent
set expandtab       " enter spaces when tab is pressed
set showmatch
set smartcase
set smarttab
set smartindent
set softtabstop=4
set tabstop=4       " use 4 spaces to represent tab
set ruler           " show cursor location
" make backspaces more powerful
set backspace=indent,eol,start

set incsearch
set statusline=\ %<%l:%v\ [%P]%=%a\ %h%m%r\ %F\

" place cursor to last modified
au BufReadPost *
\ if line("'\"") > 0 && line("'\"") <= line("$") |
\ exe "norm g`\"" |
\ endif

" file enconding to korean
if $LANG[0]=='k' && $LANG[1]=='o'
set fileencoding=korea
endif

" syntax highlighting
if has("syntax")
    syntax on
endif

" using colorscheme
colorscheme molokai
" colorscheme jellybeans
zsh 설치
1. zsh 설치
sudo apt install zsh
2. 기본 셸을 zsh로 바꾸기
chsh -s `which zsh`
3. Oh My ZSH 설치
sh -c "$(curl -fsSL https://raw.github.com/robbyrussell/oh-my-zsh/master/tools/install.sh)"
4. zsh plugin 설치
git clone https://github.com/zsh-users/zsh-syntax-highlighting.git ${ZSH_CUSTOM:-~/.oh-my-zsh/custom}/plugins/zsh-syntax-highlighting
git clone https://github.com/zsh-users/zsh-autosuggestions ${ZSH_CUSTOM:-~/.oh-my-zsh/custom}/plugins/zsh-autosuggestions
git clone https://github.com/djui/alias-tips.git ${ZSH_CUSTOM:-~/.oh-my-zsh/custom}/plugins/alias-tips
5. zshrc 세팅 vi ~/.zshrc로 열어서 복붙
아래 나와있는 부분에서 다른부분 보고 바꾸기
여기도 복붙하면 주석과 띄어쓰기가 아래와 다르게 더 들어가므로 똑같이 되도록 빈칸과 주석 delete 잘 해주면 됨.
# If you come from bash you might have to change your $PATH.
# export PATH=$HOME/bin:/usr/local/bin:$PATH

# Path to your oh-my-zsh installation.
  export ZSH="$HOME/.oh-my-zsh"

# Set name of the theme to load --- if set to "random", it will
# load a random theme each time oh-my-zsh is loaded, in which case,
# to know which specific one was loaded, run: echo $RANDOM_THEME
# See https://github.com/robbyrussell/oh-my-zsh/wiki/Themes
ZSH_THEME="agnoster"
…
plugins=(
    git pip alias-tips
    zsh-syntax-highlighting
    zsh-autosuggestions
)
…
# User configuration 부분은 여기서 확인 가능.
(똑같이 복붙하면 됨.)
6. 설정되도록 source함.
source ~/.zshrc
mlvcgpu 계정 추가
1. skel 다운로드
git clone https://github.com/2KangHo/skel.git
2. skel 폴더에 복사 후 받은 폴더 삭제
cd skel
rm -rf .git
sudo mv .* /etc/skel/
cd ..
rm -rf skel
3. mlvcgpu 계정 추가 (sudo adduser mlvcgpu -shell /usr/bin/zsh로 추가)
mlvc01@mlvc01:~$ sudo adduser mlvcgpu -shell /usr/bin/zsh
Adding user `mlvcgpu' ...
Adding new group `mlvcgpu' (1001) ...
Adding new user `mlvcgpu' (1001) with group `mlvcgpu' ...
Creating home directory `/home/mlvcgpu' ...
Copying files from `/etc/skel' ...
Enter new UNIX password:
Retype new UNIX password:
passwd: password updated successfully
Changing the user information for mlvcgpu
Enter the new value, or press ENTER for the default
        Full Name []: mlvcgpu
        Room Number []:
        Work Phone []:
        Home Phone []:
        Other []:
Is the information correct? [Y/n] y
4. mlvgpu계정에도 zsh설정을 위해 mlvcgpu로 접속 후 3.zsh설치 의 3.Oh My ZSH 설치 부터 6. 까지 설정
이때 mlvcgpu계정으로 들어가면 z shell configuration file 설정화면이 뜨는데 그냥 0 입력후 엔터하고 다음 과정 진행하면 됨.
Docker 유저 sudo없이 실행가능하도록 설정
다시 sudoer계정(i.e. mlvc01) 으로 접속 후 실행
sudo usermod -aG docker $USER
sudo usermod -aG docker mlvcgpu
하드디스크 Mount
이 항목은 1, 2, 3, 4번 서버만 하면 된다.
다른 서버들은 현재 하드디스크가 달려있지 않기 때문.
추후 NAS 구매시 이 항목은 필요 없으므로 삭제할 예정이다.
1. blkid로 하드디스크 UUID 확인
mlvc01@mlvc01:~$ sudo blkid
/dev/loop0: TYPE="squashfs"
/dev/loop1: TYPE="squashfs"
/dev/loop2: TYPE="squashfs"
/dev/loop3: TYPE="squashfs"
/dev/loop4: TYPE="squashfs"
/dev/loop5: TYPE="squashfs"
/dev/loop6: TYPE="squashfs"
/dev/loop7: TYPE="squashfs"
/dev/nvme0n1: PTUUID="f18b386b-aece-467e-832e-7de2c5920949" PTTYPE="gpt"
/dev/nvme0n1p1: UUID="0B18-DEBD" TYPE="vfat" PARTLABEL="EFI System Partition" PARTUUID="b62cee22-fab8-4230-bbe8-c14b6d4c061f"
/dev/nvme0n1p2: UUID="a44447b8-32a0-4344-ac37-e124b2e3c629" TYPE="ext4" PARTUUID="d01e6805-d62e-4413-9981-dfcdcff2b51e"
/dev/sda1: LABEL="hdd1" UUID="f5a90ae5-f49d-4d7d-8ab7-d1050ef911e9" TYPE="ext4" PARTLABEL="sda1" PARTUUID="911d76d9-a48c-41d8-a441-bfb31b80a42c"
/dev/loop8: TYPE="squashfs"
/dev/loop9: TYPE="squashfs"
/dev/loop10: TYPE="squashfs"
/dev/loop11: TYPE="squashfs"
2. 마운트될 디렉토리 생성 (/media/hdd1)
sudo mkdir -p /media/hdd1
3. 부팅 시에 자동마운트를 위해 /etc/fstab 파일에 마운트 정보를 추가
sudo vi /etc/fstab
위의 명령어를 실행하고 맨 아래에 아래처럼 마운트 정보를 입력하는데 하드의 실제 UUID를 입력하면 됨. (아래는 예시로 위 1.에서의 hdd1에 해당하는 UUID를 적어주면 됨.)
# HDD mount
UUID=f5a90ae5-f49d-4d7d-8ab7-d1050ef911e9 /media/hdd1 ext4 defaults 0 0
4. 마운트 내용을 적용하기 위해서 아래 명령어를 입력. (재시작하지 않아도 마운트 됨.)
sudo mount -a
5. 마운트 되었는지 확인하기 위해 아래 명령어 실행.
df -h
모든 설정 안전하게 되었는지 확인을 위해 리부팅
sudo reboot